WooCommerce Integration
Integrating ConveyThis Translate into your site is fast and easy, and WooCommerce is no exception. Follow this guide to add ConveyThis to your WooCommerce site in just a few minutes.
1) Create a ConveyThis Account
To start, your ConveyThis account dashboard lets you view and manage all your translations. Simply create a ConveyThis account here.

2) Select Your Plugin via ConveyThis
Select the website technology you used to build your website. In this case, choose WooCommerce.
Click “Next” to proceed.

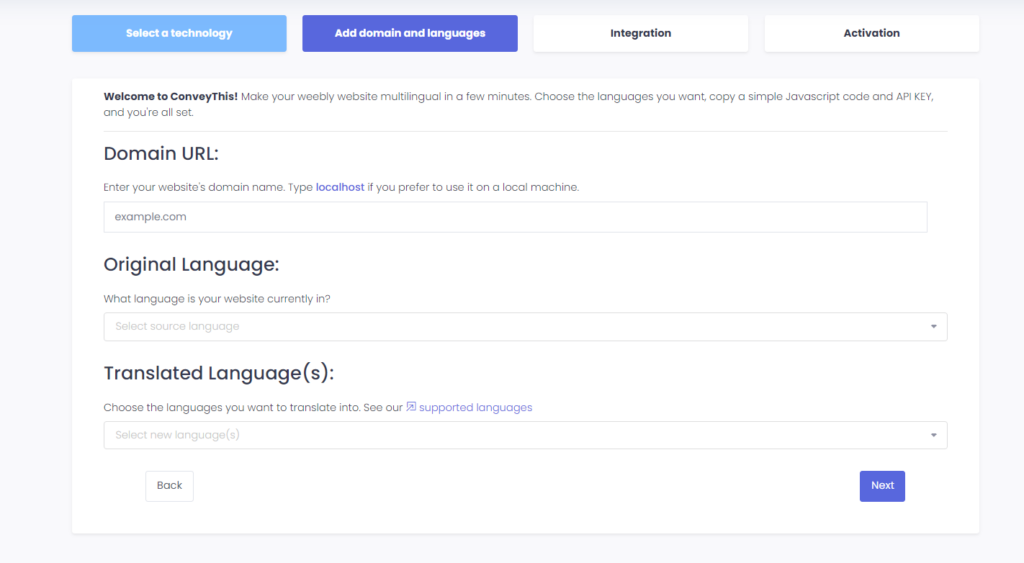
After clicking “Next,” enter your domain name and specify the language(s) you want to translate your website into.

3) Install the ConveyThis Plugin
- Go to your WordPress dashboard, then navigate to Plugins > Add New.

- In the search field, type ConveyThis. When the plugin appears, click Install Now and then Activate.

- After activation, go to the ConveyThis settings. Click Get API Key to register on ConveyThis and retrieve your API key.

- Paste your API key, select your source and target languages, and click Save Changes.

4) You’re All Done!
That's it! Visit your website, and you should see the language-switch button at the bottom right. It may take a few minutes to appear, so don’t worry if there's a short delay.
Try changing the language once the switcher appears—and, like magic, your WooCommerce site is multilingual! You can now go to your ConveyThis dashboard to manage all your translations.
Congratulations! Now you can start translating your website.
If you want to customize the button or explore additional settings, go back to the main configuration page and click “Show more options.”