Getting Started
Integrating the ConveyThis JavaScript widget into any website is incredibly simple. Just follow our step-by-step guide to add ConveyThis to your website in a few minutes.
1) Create a ConveyThis Account
To begin, your ConveyThis account dashboard lets you view and manage all your translations. Simply create a ConveyThis account here.

2) Select Your Plugin via ConveyThis
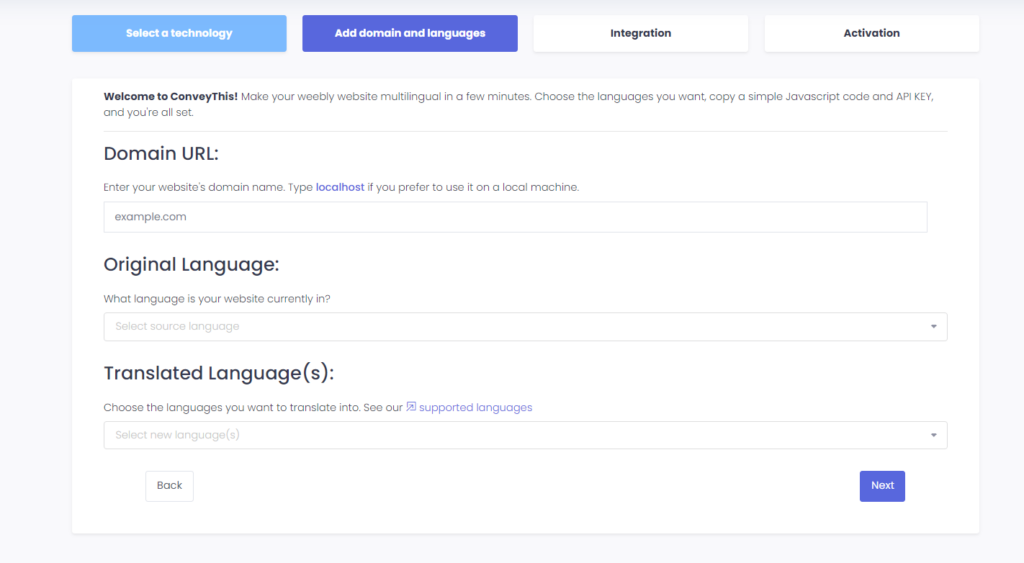
Choose the website technology you used to build your website. In this case, select JavaScript.
Click “Next” to proceed.

After clicking “Next,” enter your domain name and select the language(s) you want to translate your website into.

3) Copy and Paste the Code Shown on Your Screen
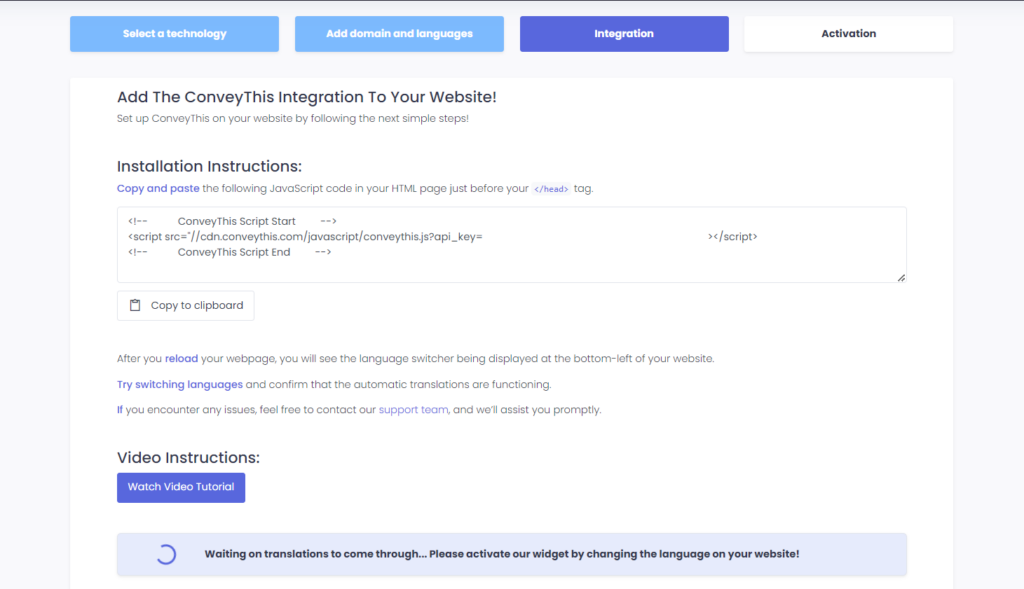
The following screen will display the JavaScript code:

Copy the code that appears on your screen (remember to replace “YOUR_API_KEY” with the one from your dashboard).
<!-- ConveyThis Script Start -->
<script src="//cdn.conveythis.com/javascript/conveythis.js?api_key=YOUR_API_KEY"></script>
<!-- ConveyThis Script End -->
Then, paste this code into the <head> section of each HTML page on your website.
- If you’re using a CMS, you can usually add this code under a “Custom Code” section in the CMS settings.
- If building from scratch, place the JavaScript snippet before the closing
</head>tag on every HTML page.
4) You’re All Done!
That's it! Visit your website, and you should see the language switch button at the bottom right. It may take a few minutes to appear, so don’t worry if there's a short delay.
Try changing the language once the switcher appears—and, like magic, your website is multilingual! You can now go to your ConveyThis dashboard to manage all your translations.
Congratulations! Now you can start translating your website.